Happy Monday!
I know majority of us did not have enough of weekends but on the positive note, four more days to the next weekend!
Meanwhile, let's divert your Monday blues away for a bit, shall we?
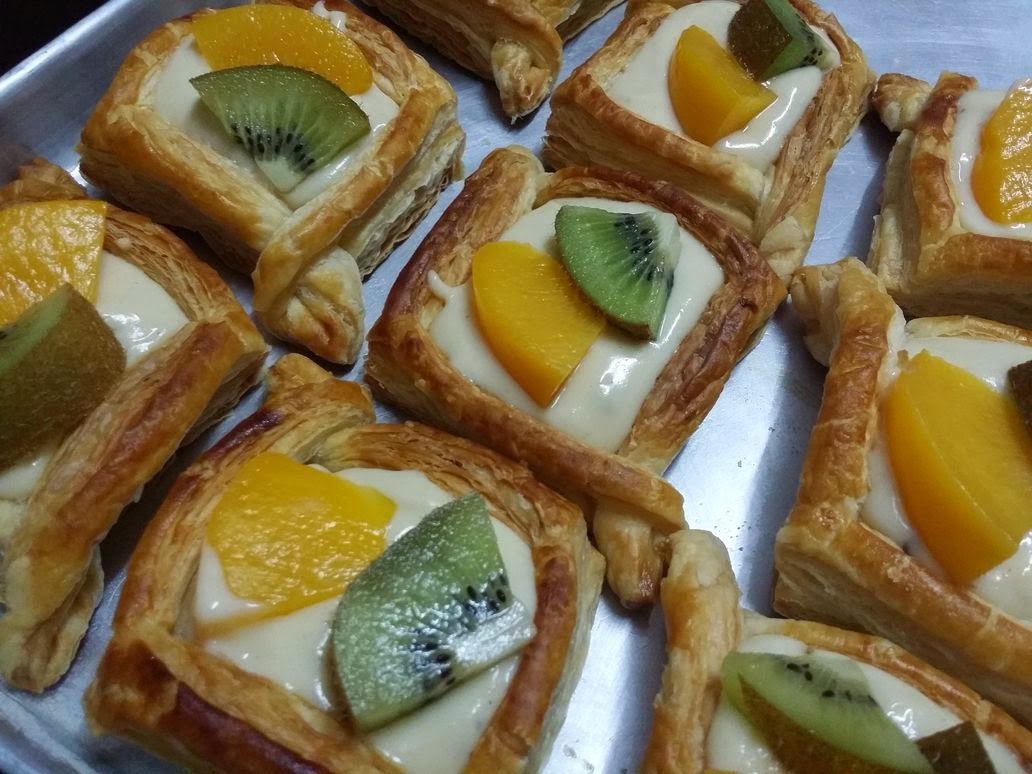
I've made fruit tarts!
To be honest, I am not a big fan of fruits. The only time I find myself eating fruits is when my mum would stuff the whole piece of apple or pear into my mouth, giving me no room to say no. If I do not swallow that piece of fruit, there will be drama in the house.
So, that's how my relationship with fruits goes...
Anyway, since I am pretty free now as I am not working or studying currently, I get to experiment with food quite a bit. Well... I am on a diet - I have this love and hate relationship with food where my mind says no to food but my hands and mouth get pretty itchy.
I was pretty inspired by those fruit tarts I saw in bakeries and was telling myself, one piece of those tarts costs around RM5 to RM8. If I were to bake these tarts, it would cost less.
Here is my version of fruit tarts :)
Well, let's just say I cheated - I bought these pastry puffs from the store because I figured out I would waste so much more time trying to make my own puffs.
Price for each pack of 10 pieces - RM6.40 only.
I bought 3 so that I could experiment more.
Now, comes the interesting part - shaping the pastry. I was having a hard time trying to choose which shape I would go for and in the end, I settled for something cute. LOL!
First of all, when you have taken out your pastry puff, make 4 incisions at the 4 sides of the squares.
Well... something like what you see in the picture above.
Then, brush a thin layer of egg wash at the side of the remaining puff that has not been cut. The purpose is just to secure the outer layer of the incision made earlier.
Take one end of the incision, fold it to the opposite direction - as demonstrated in the picture above.
After that, take the other incision and fold it to the opposite direction as well.
Press the puff pastries down gently to secure both ends and there you have it - your cute puff pastries are done.
Now, the interesting part - take a fork and begin poking away.
The whole idea is to give the puff pastries 'a room to breathe' when they are baking in the oven. We do not want sloppy pastries, don't we?
Get your oven pre-heated to 180 degree Celsius.
When the oven is hot enough, place the pastries in the oven and watch as the magic happens.
Remember to keep an eye on your pastries as these babies take about 20 to 30 minutes to be baked.
When they are golden brown, take them out of the oven and allow them to cool down before the following steps.
Be careful when you are handling these pastries as they are quite fragile. If you accidentally drop them, well... there goes your pastries.
Now, time to make custard.
FYI, I do not develop any custard recipe - the recipe for my custard is from here.
The custard tastes amazing so you have to try it out.
Allow the custard to completely cool down before you proceed with the rest of the steps.
Basically, when the custard has cooled down, scoop it out and evenly distribute it onto the puff pastry that you have baked earlier.
Don't worry about the custard spilling out because it won't.
The last step is just place the fruits of your choice on top of the custard.
Leave it to cool in the fridge for an hour or so.
For decoration, you may want to dust a bit of confectioner sugar on top and believe me, your tarts would look so, so pretty!


No comments:
Post a Comment